Sauna renovation by yourself or with the help of a professional? Weigh the pros and cons
Doing the sauna renovation yourself is tempting because of the savings, but using...
Read more
The secret to the longevity of your sauna panel is regular and gentle care. It is based on three basic things: general cleaning with a mild detergent and a soft brush, protecting the decks with tablecloths, and re-treating the surfaces with a sauna guard or paraffin oil every few years. By taking the right measures, you can ensure that the wood surface remains hygienic and beautiful without the use of harsh chemicals or methods that damage the wood.
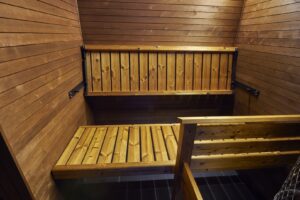
You step into the warm sauna, and the familiar, soothing scent of clean wood wafts in. The sauna panel on the walls and ceiling glows beautiful and inviting, ready for the perfect sauna. This sensory experience is a key part of Finnish sauna culture, and it’s easier to maintain than many people think. It does not require hard work, but an understanding of the nature of wood and regular, gentle care.
However, over time, sweat, humidity and airborne dust inevitably leave their mark on sauna surfaces. Panels can darken and dirt can cling to the wood, reducing both the hygiene and the atmosphere of the sauna. However, many people are reluctant to wash sauna panels for fear of damaging the wood or using the wrong substance to spoil the surface. This guide is here to dispel those worries and show you simple and effective ways to keep the heart of your sauna – its wooden surfaces – clean and vibrant year after year.
The best way to keep your sauna panel looking beautiful is to create a few good habits that prevent dirt and moisture from sticking. When prevention becomes a routine, the actual need for cleaning is greatly reduced and your sauna stays fresh without much effort. It’s all about small but regular actions.
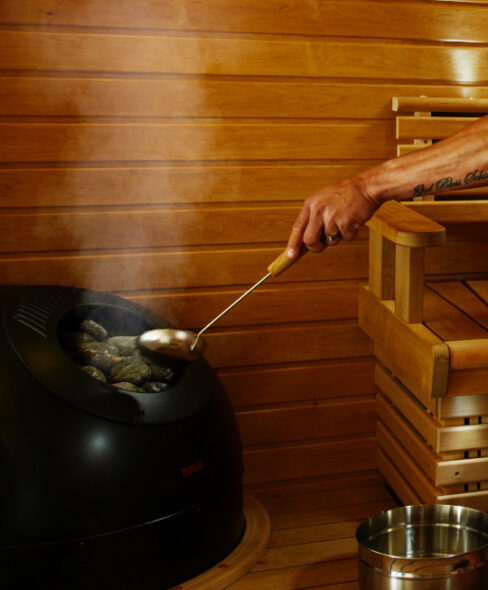
The most effective treatment is immediately after the sauna. These actions only take a moment, but save a lot of work later.
Stagnant, humid air is a sauna panel’s worst enemy. It creates conditions for unwanted growth and can damage the structure of the wood in the long term. Effective ventilation after a sauna not only dries the surfaces, but also freshens the air for the next sauna session. A well-ventilated sauna is a healthy and long-lasting sauna.
Although regular care will keep your sauna fresh for a long time, there comes a time when a more thorough cleaning is needed. A good rule of thumb is to wash the entire sauna once or twice a year, or whenever you notice that the surfaces are starting to darken or need a deeper clean. This basic cleaning will restore the wood to its original beauty and ensure the sauna’s hygiene.
The most important thing to remember when cleaning your sauna is that wood is a living material. It should be treated with care. So forget pressure washers and harsh, chlorine-containing chemicals – they do more harm than good and can permanently damage the wood’s surface.
All you need are a few simple tools:
Once the equipment is ready, the washing process itself is straightforward. Proceed calmly and systematically for the best results.
Once the sauna has been thoroughly washed and allowed to dry properly, it is the perfect time to give the panels a new protective coating. Protective treatment is not just a cosmetic touch-up, it is an important part of maintaining wood surfaces. It makes the panels more resistant to dirt and moisture, makes future cleanings easier and can renew the look of the sauna as a whole. The treatment restores the wood’s glow and protects it from the stresses and strains of the sauna.
It is always advisable to treat new sauna panels before putting the sauna into operation. This will give them the best possible start and protection. In the future, the need for treatment will depend on the degree of use of the sauna. A good sign is when water droplets no longer remain as beads on the surface of the wood, but begin to be absorbed into it. Then it is time to renew the protection. Usually this means treatment every few years.
The benefits of treatment are clear:
The most common options for protecting sauna panels are paraffin oil and sauna wax. Both are excellent choices, but they offer a slightly different end result.
Colourless paraffin oil is a classic and safe choice. It absorbs into the wood, but does not form a film, leaving the wood with a natural feel. The oil beautifully deepens the wood’s own colour tone and brings out its grain pattern vividly. It is the perfect choice when you want to respect the wood’s original character and give it nothing but lasting protection.
Sauna wax leaves a thin, breathable and velvety protective layer on the surface of the wood. The waxes are available in a range of colours and shades. So you can either keep the original colour of your panels or give your sauna a new look in a stylish black, crisp white or subtle grey. Wax is the right choice when you need not only protection but also a visual change.
Careful work ensures a beautiful and long-lasting result. Follow these steps:
Sometimes, despite regular treatment, dark spots or stains can appear in the sauna, which traditional washing can no longer cure. This is particularly common in older saunas or saunas that have been in heavy use. Before you consider replacing the entire paneling, there are effective ways to restore the original glow of the wood. These methods require a little more work, but the end result is often worth the effort.
Before you get to the sander, it’s worth trying a few more effective, yet gentle cleaning methods for wood. These home remedies may surprise you with their effectiveness, especially when dealing with local stains.
If the dirt has penetrated deep into the wood or the surface is scratched, the only really effective method is sanding. Sanding is not just cleaning, it is a complete renewal of the sauna. It removes the outermost, damaged layer of wood and reveals a completely new, clean wood surface underneath. Sanding is a more extensive operation, but it restores the sauna panel to near-new condition.
Careful preparation makes the job easier and tidier. Make sure you have the right tools and protect your environment well.
Proceed in a calm and orderly manner. The aim is a smooth and beautiful finish.
Bring your ideas to life – try our free design tool and design the sauna of your dreams
Doing the sauna renovation yourself is tempting because of the savings, but using...
Read more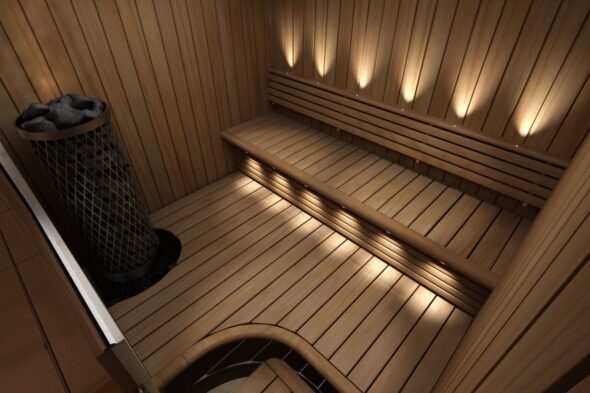
The most common mistakes in sauna lighting are related to glare or too...
Read more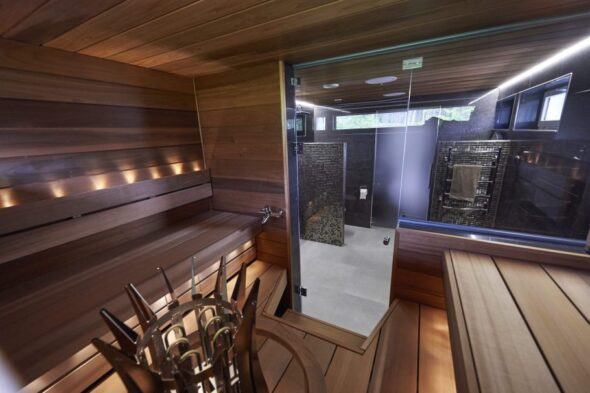
Correctly designed and installed sauna glass wall does not detract from the baths,...
Read more